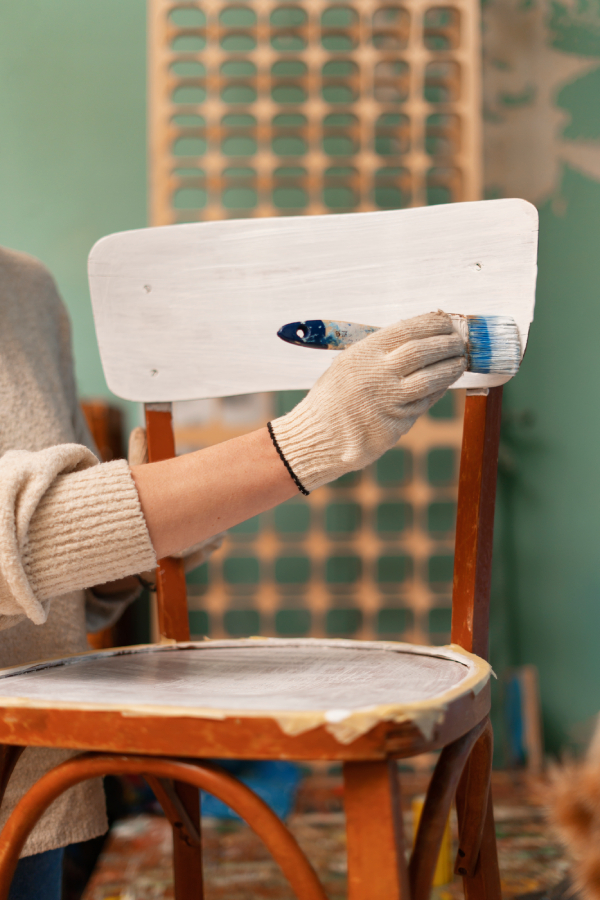
Furniture painting mistakes happen to people of all skill levels. Sure, a seasoned painter will probably make fewer mistakes than a beginner. But, more importantly, experienced painters know how to respond effectively when they make a furniture painting mistake.
Let’s be clear: mistakes aren’t just inevitable–they’re also vital to the learning process, especially if you’re teaching yourself how to paint used furniture without a mentor or guide. Furthermore, handpainted pieces will always have minor flaws and imperfections–that’s part of their unique charm and beauty.
A mistake is a fork in the road
Handling mistakes requires choices, and each choice can take you in a different direction. When you’re learning independently, the wrong choice can lead you down a seemingly endless, twisting path. Along this path, mistakes can start begetting a lot more mistakes. Or, the quest for perfection becomes all-consuming, so you’re never happy with any solution. Or both.
Once you step on that rocky road, finding an off-ramp is hard. Your twisted journey devours tons of time, your efforts have dragged out for hours, days, weeks, even months. One small mistake now threatens to derail the whole project. You’re frustrated, angry, and discouraged.
Listen. You’re not alone! I’ve traveled that road several times. I can confidently say that individual mistakes may help you learn, but spiraling way off track over an error rarely supports a healthy learning process.
The good news is that I’ve gotten much, much better at dealing with painting issues, and I’m happy to share that knowledge with you. The following suggestions can help beginners approach furniture painting mistakes more effectively and get back on track when a mistake is causing lots of trouble.
Responding to a furniture painting mistake
Oh no! I screwed that up! Insert your favorite expletive here (ok, insert a few more, let’s be realistic).
Realizing you made a mistake while painting secondhand furniture is super frustrating, so it’s natural to jump on the first possible solution that occurs to you. Do that fix real quick, then get back on track, right?
Sadly, it rarely works out that way, especially while you’re learning to work with paint, wax, and other media. The quick fix could create an uneven appearance that looks shabby, or it may cause a more obvious flaw requiring a more labor-intensive repair. The “fast” solution can spell trouble regardless of whether you need a spot fix or a partial or complete redo.
Before trying to fix furniture painting mistakes, I recommend using three steps to determine the best solution and avoid getting lost in the woods.
1. Back up
The first thing I recommend when you notice a mistake is to step back and look at the piece from a greater distance. Try looking from one foot, three feet, then five feet away. If you know where the finished piece will live, imagine it in the space. Many furniture painting mistakes are invisible at a distance, even a short distance.
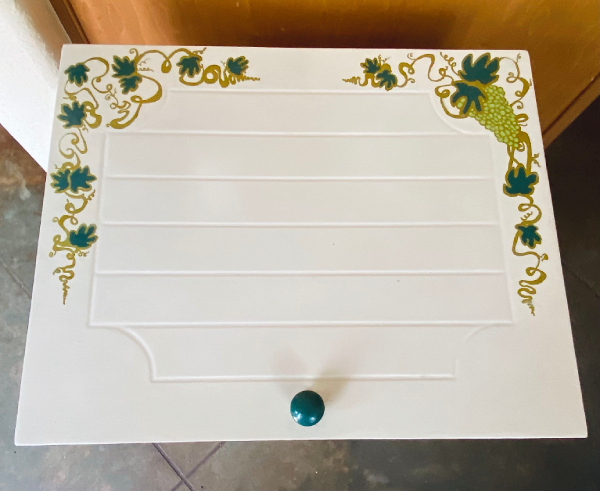
I repainted the grapevine design on this wooden trash can eight times. Eight times!
Finally, on the seventh try, I realized that I could see every little bump, color imperfection, and wiggly borderline—with my reading glasses. When I finally pulled back and switched glasses, I immediately saw that the work’s impact was quite strong. Just being a little further away made a huge difference.
2. Try acceptance
Can you let it go? If you can, I implore you to do it! A spot fix will often mean accepting a slight imperfection anyway, while redoing everything can eat up time, energy, and resources (like paint, sandpaper, sealer, etc.).
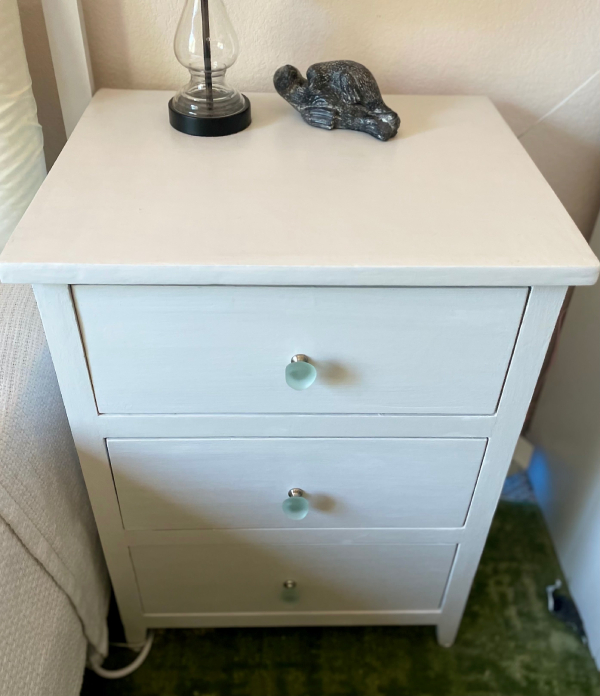
This vintage nightstand was originally in good shape except for some small scratches on the front. I expected to slap on a few coats of chalk paint and call it a day. However, contrary to the hype, chalk paint won’t replace diligent prep and primer on many surfaces. Those little scratches remained visible even after I added (and sanded down) several thick layers of paint. Eventually, I had to let it go, because my daughter’s bedside lamp was wobbling on stacked plastic tubs while I struggled to finish this project.
Those scratches still bothered me—until we put the piece next to her bed. Right away, it looked beautiful in her space. I’m so grateful I accepted those little flaws because that was the first time I experienced real pride in my work as a furniture painter!
 |
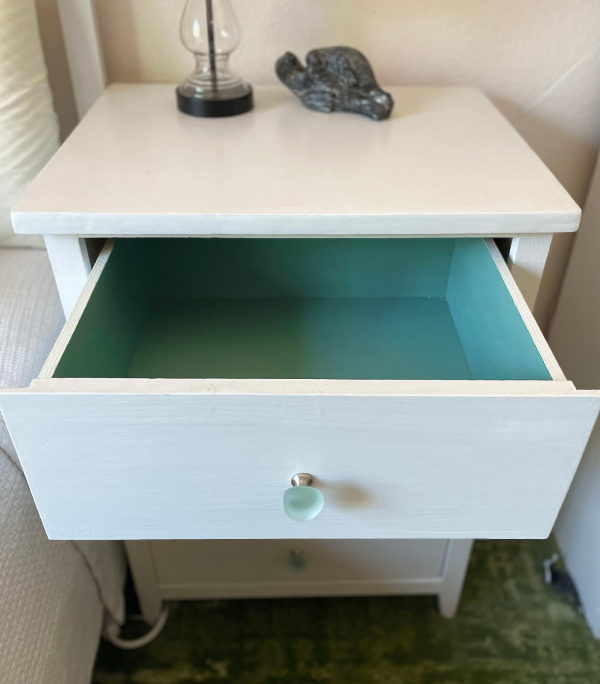 |
Scratches? Who notices tiny scratches when you have sea glass drawer pulls and aqua peekaboo drawers? Photos by A.W.R.
3. Think the plan through
For me, this is the hardest step. I know this springs from my ADHD. But I think it can challenge anyone who’s invested time and effort into painting furniture, only to be blindsided by a mistake. It’s super frustrating when you have to stop the project’s momentum, and the thought of having to make a new plan feels like it will take forever.
Nevertheless, we all should stop and think before taking action on furniture painting mistakes. Whether you decide to fix or redo, before you dive into solving the issue, it’s best to consider the following:
- What steps will this take?
- What time is required?
- Which supplies do I need?
- What’s the best possible outcome?
- What’s the worst possible outcome?
You may need to consider more than one approach for the solution. For example, repainting the side of a bookshelf could mean adding another coat, or it might require sanding off all the existing paint and starting from the beginning. Which one best achieves your goals?
Perfectionism and furniture painting mistakes
For me, refurbishing is a tightrope on which my tendency to rush and my tendency to hyperfocus constantly threaten to undermine all my efforts–something else my fellow ADHDers will probably recognize. And again, this is not limited to the neurodivergent set. Sometimes, especially on your first furniture projects, you must say, “good enough.” Refurbishing is truly a place where perfection can be the enemy of good.
Please, don’t hesitate to throw yourself into the project, slap paint on furniture, make mistakes, and try to address them. Just remember, if you devote all your time to fixing, repainting, or simply pursuing perfection, you may not finish those brilliant pieces you see in your mind’s eye. And then you won’t be able to take pride in your finished work or use, gift, or sell your pieces.
And that’s the point, right? To make sure those vintage and second-hand pieces continue to provide beauty and joy as we navigate this glorious series of mistakes we call life.

